Lestercast were approached by a global company that produces laboratory products for cancer diagnosis in the healthcare industry. The company required a manufacturer to produce a component for one of their diagnosis machines.
MODIFICATION OF EXISTING TOOLING FOR INVESTMENT CASTING
PRODUCT & FINISH
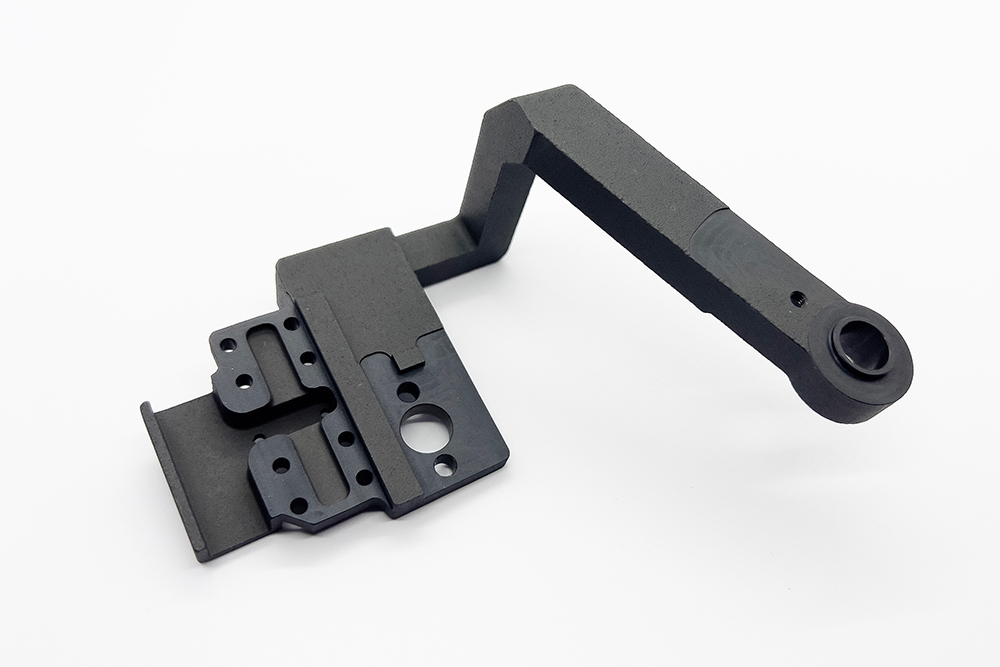
Slide transfer support arm – Machined and black anodised
MATERIAL
The casting was required in Aluminium LM25 TF, due to its lightweight and high-strength properties. The component needed to be black anodised to prevent any light reflection that would adversely affect the capability of an adjacent digital camera.
HISTORY
The casting was currently being manufactured at another foundry in the UK, but the customer required a new supplier. This meant that the company already had the hard tooling available to manufacture the parts, although the tool would need to be adapted to be used at our facility. This is a fairly simple process, typically costing a few hundred pounds and just taking just 3 to 4 days to convert.
EXISTING ISSUES – The company that previously manufactured the parts were experiencing some distortion issues with the slide transfer support arm. There was also a requirement to reduce the amount of unnecessary machining on non-critical faces.
WHY INVESTMENT CASTING?
The investment casting process is an ideal manufacturing solution for low/medium volume castings that need to be geometrically accurate, have good consistency, definition, and achieve a superior surface finish in it’s as-cast state. Investment casting is also an alternative to machined-from-solid parts, providing a low-cost option to reduce overall machining time/cost, whilst still accommodating complex shapes.
THE PROCESS
ANALYSING PRE-EXISTING ISSUES
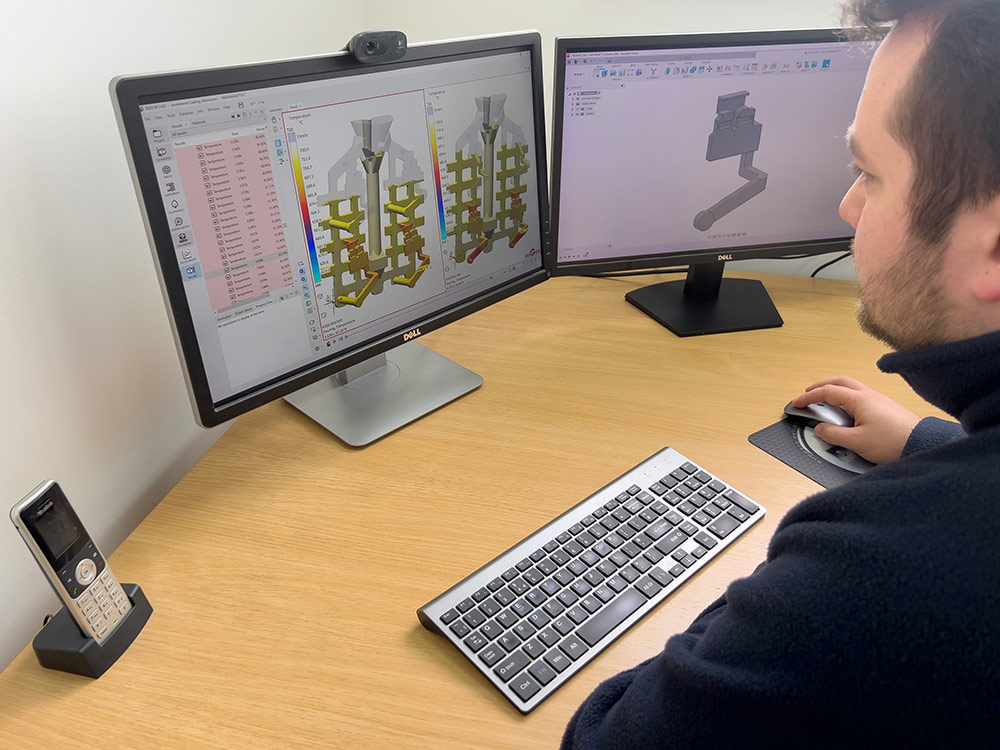
Lestercast were quick to run an analysis on the support arm using our 3D casting simulation software. This software replicates the flow and solidification of liquid metal, highlighting any potential defects and appraises the design-for-manufacture of the casting design. The use of simulation allows for virtual prototyping, eliminating material costs and reducing the pre-production timeline.
MODIFICATIONS TO FIX EXISTING ISSUES
Simulation analysis highlighted the areas of concern. To optimise the flow and solidification characteristics of the liquid metal, the cross-sectional area, geometric shape and location of the feed gates were modified. The casting was also redesigned (within functionality limits) in close collaboration with the customer. The design modifications would aid castability eliminate the need for unnecessary machining, ensuring that only the critical features were machined. Due to the inherent design and shape of the component, complete elimination of distortion during solidification / cooling was unavoidable. However, the distortion could be minimised and controlled by development of post-cast setting and checking fixtures, which ensured that dimensional tolerances were achieved.
PRE-PRODUCTION TESTING
Our rapid prototype facilities enable us to easily modify parts and test new designs on behalf of our customers, prior to final production. 3D wax patterns can be printed onsite within hours, and our in-house rapid shell drying facility allows parts to be cast in short time frames, to prove out designs.
Following the casting simulation and subsequent design review, the CAD for the support arm was modified and the 3D prototype waxes were printed. A small number of castings were manufactured to verify that the modifications were successful.
INSPECTION OF SUPPORT ARM
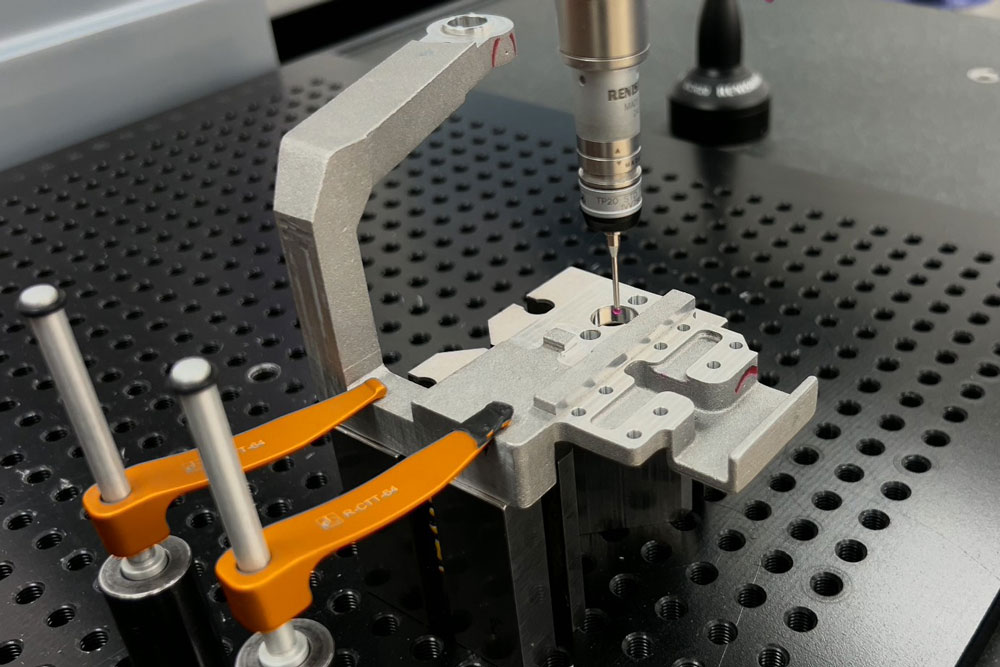
After visual and dimensional inspection, the new support arm parts (produced from rapid prototyping methods) were verified to ensure that they met the standard. With inspection completed, fully machined and finished support arm parts were submitted to the customer, allowing component assembly and further testing to take place.
MODIFICATIONS TO TOOLING FOR SEMI-AUTO WAX INJECTION
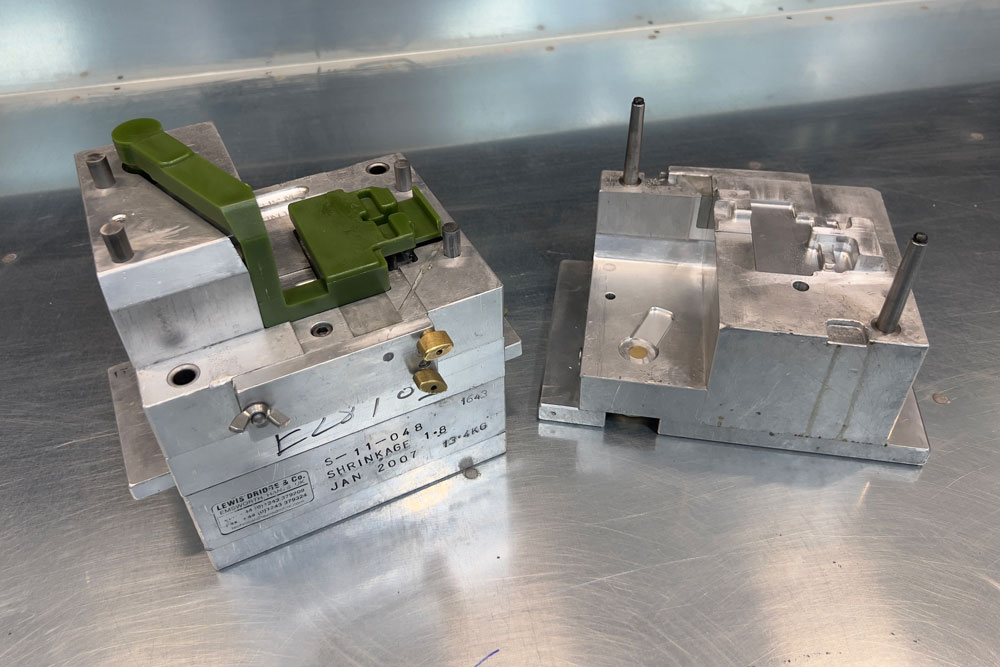
To enhance repeatability, meet growing demand, and eliminate manual handling, the tooling was allocated a semi-automatic wax injection machine. This machine not only automates the opening and closing of the tool, it also ejects the wax after solidification, allowing the operator to simply and safely pick out the finished wax. to focus solely on removing the finished wax, thereby improving efficiency. Since the tooling can weigh over 15 kg, eliminating manual handling is essential for safety and productivity.
In order for the tooling to be modified (so that it would be compatible with a semi-automatic wax injection machine), the addition of top and base clamping plates, which incorporate a “T” slot fixing arrangement, was required. Realignment of the wax injection point was also necessary, so that the liquid wax flows through redesigned channels that direct the wax into the tool at the main joint line. This improves quality and simplifies the ejection of the wax, thus increasing manufacturing efficiency.
MODIFICATIONS TO TOOLING FOR DESIGN
Following customer approval of the prototype sample parts, the wax tooling was adjusted to match the modified 3D CAD. Waxes were injected and dimensionally checked to ensure conformity.
MACHINING & SURFACE TREATMENT
Once the parts had been cast in our Leicestershire facility and had been verified to meet the initial inspection criteria, the castings needed to be heat-treated and set using specifically developed techniques. Further post heat-treatment inspection was conducted using checking fixtures and profile gauges.
Following this stage, machining was then required in order to achieve the tolerance and features that were necessary for the component to perform it’s function in the diagnosis machine.
Machining fixtures were designed to accommodate the improved geometry, whilst ensuring access to the machined surfaces.
The parts were then black anodised and laser etched for traceability purposes.
RESULT
Final approval for production was given by the customer. This allowed us to produce off tool castings of the support arm significantly improving quality of the part, coupled with increased production efficiency.
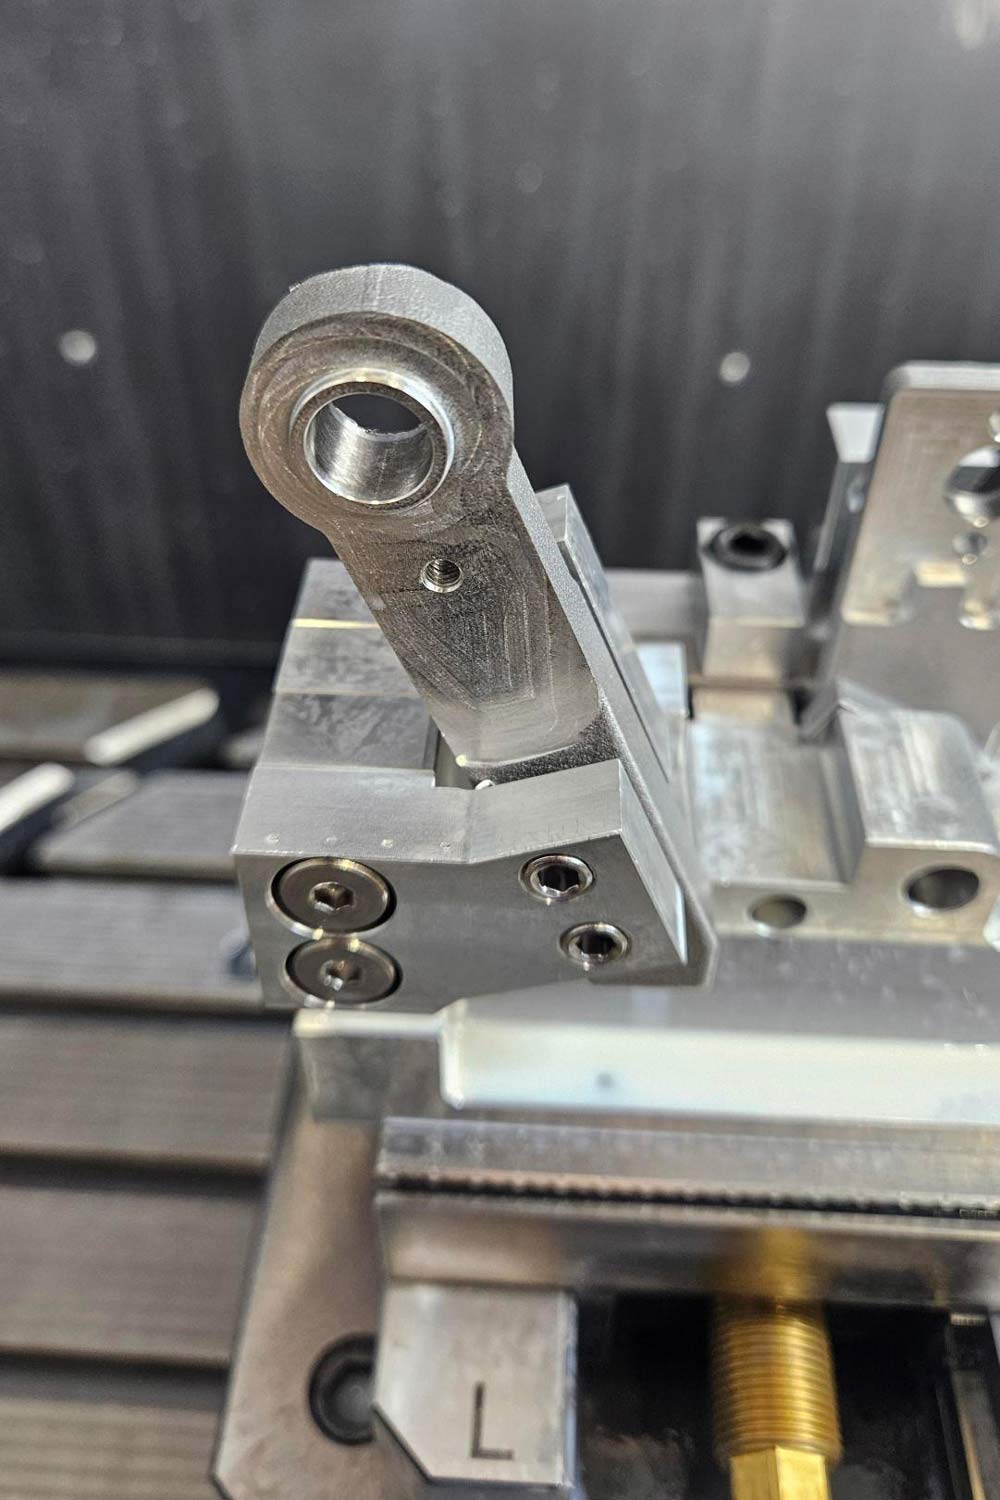
INVESTMENT CASTING PROCESS PHOTOGRAPHS
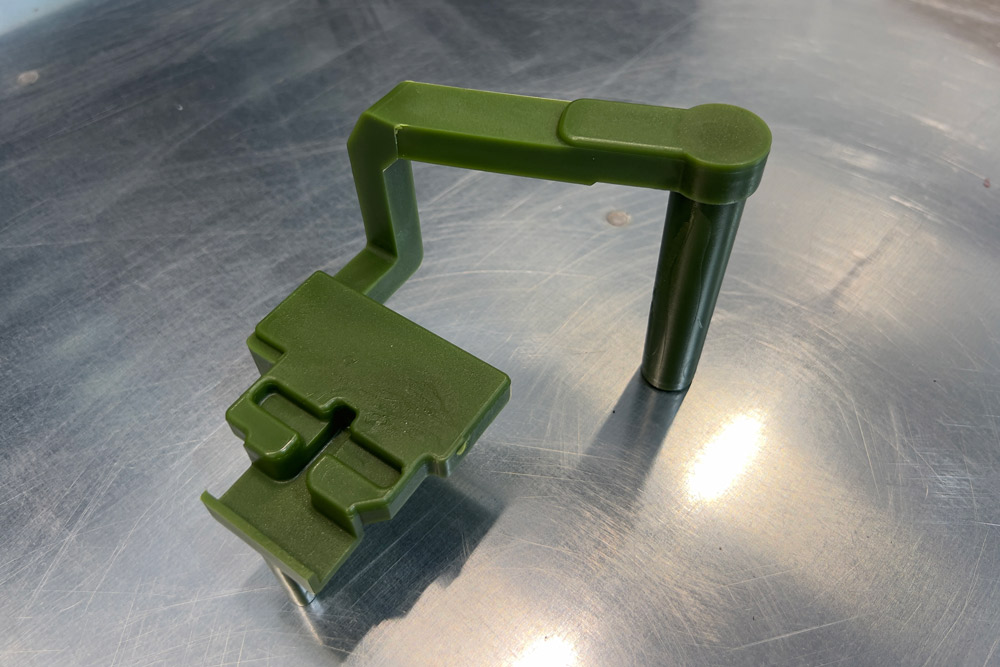
Wax pattern from tooling
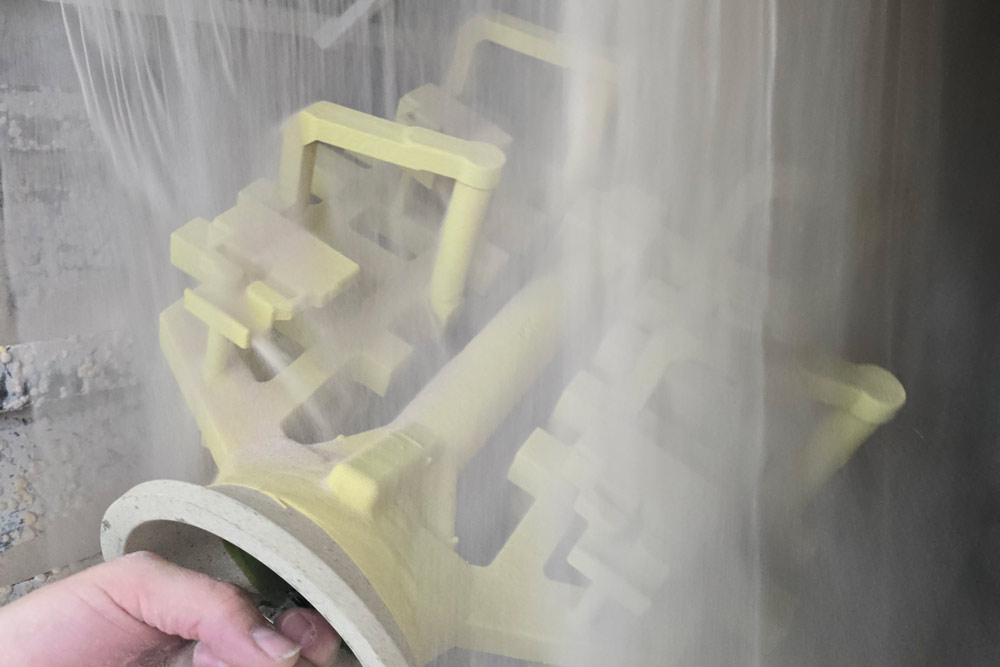
Priming the waxes
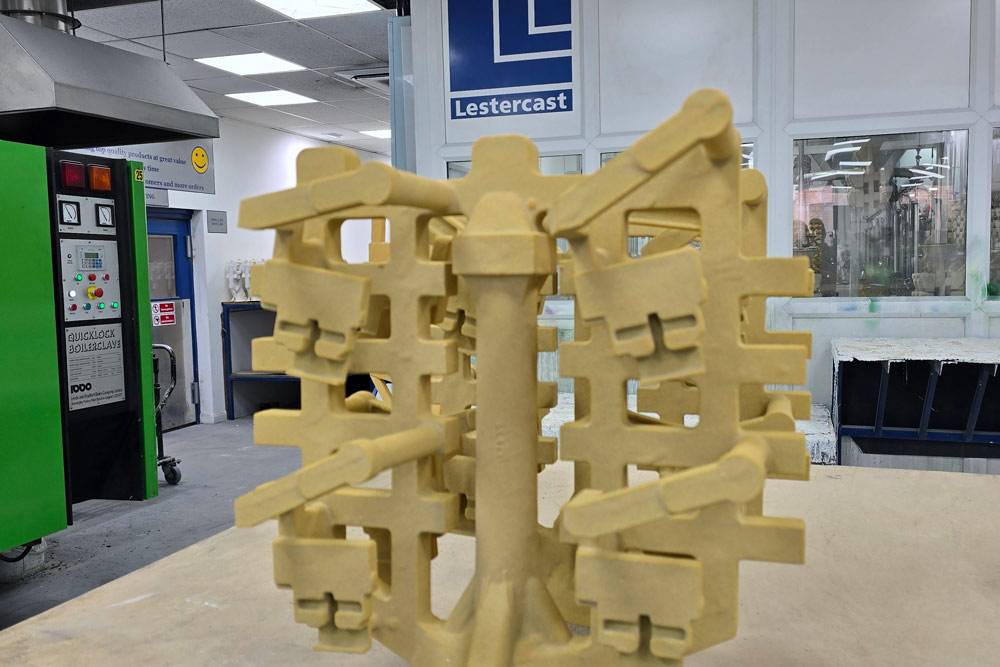
Drying the layers
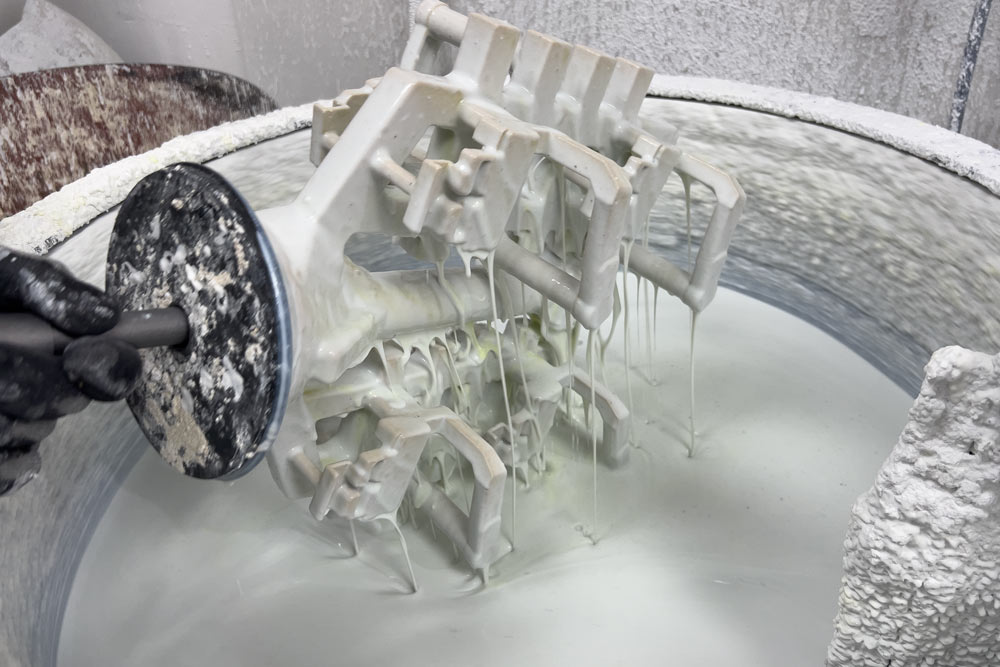
Slurry coating
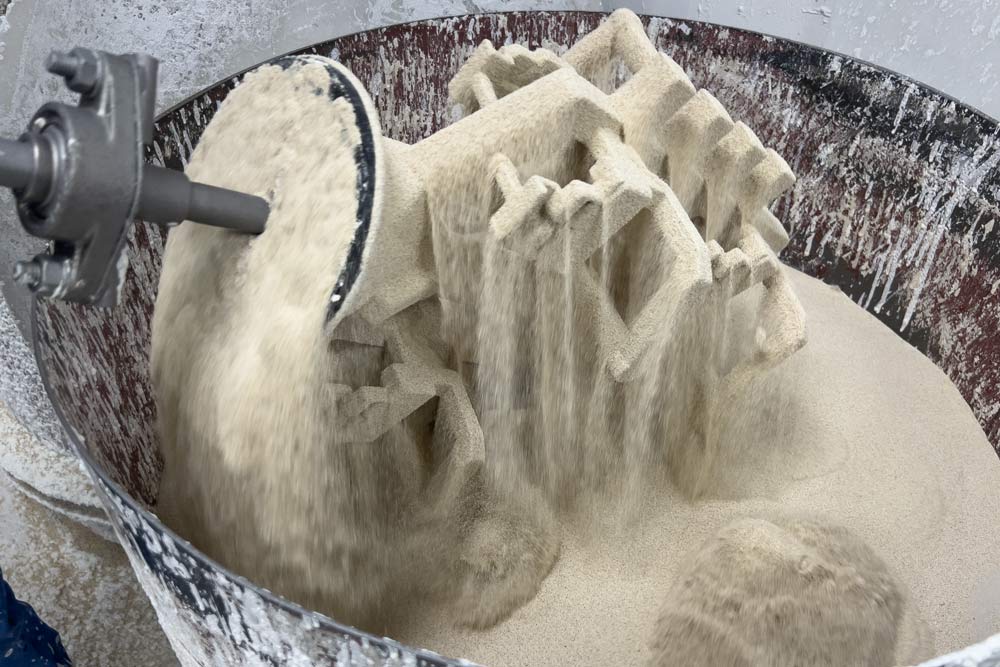
Ceramic coating
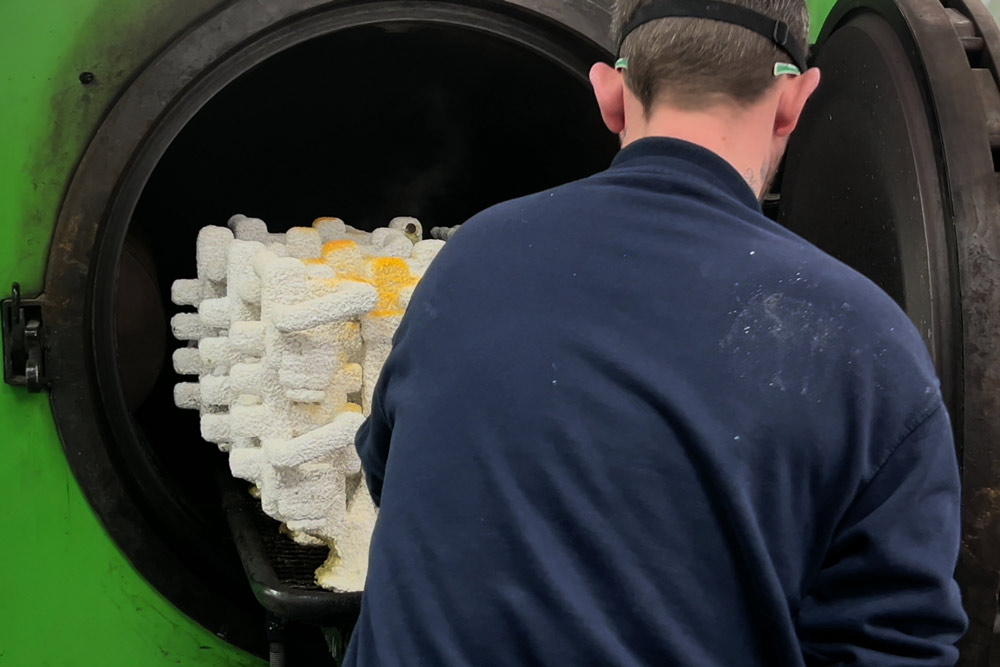
Auto-clave – removing the wax
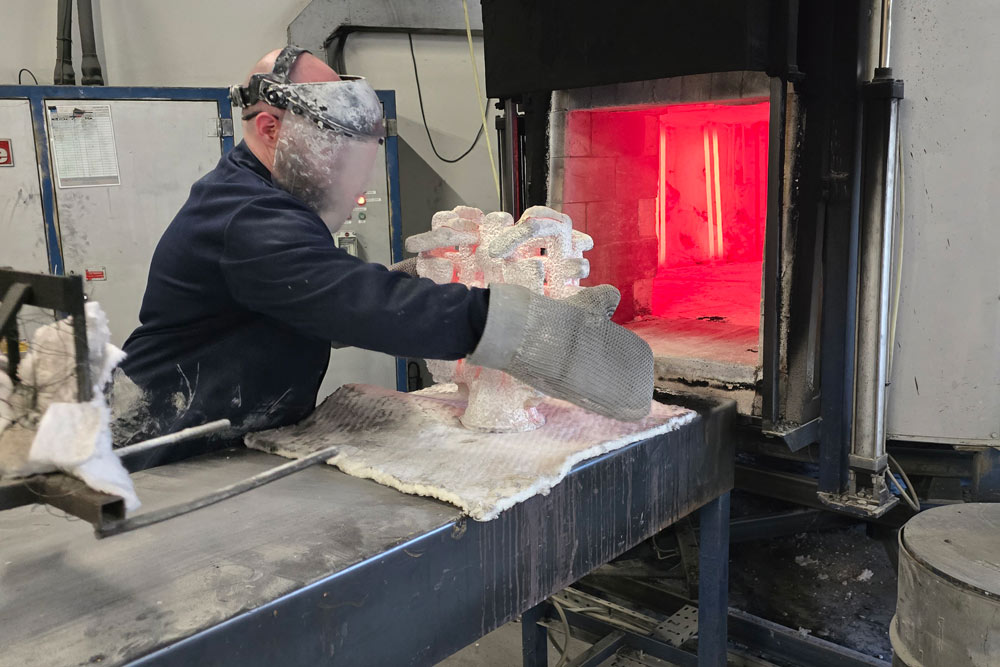
Hardening the ceramic mould in the Pre-heat furnace
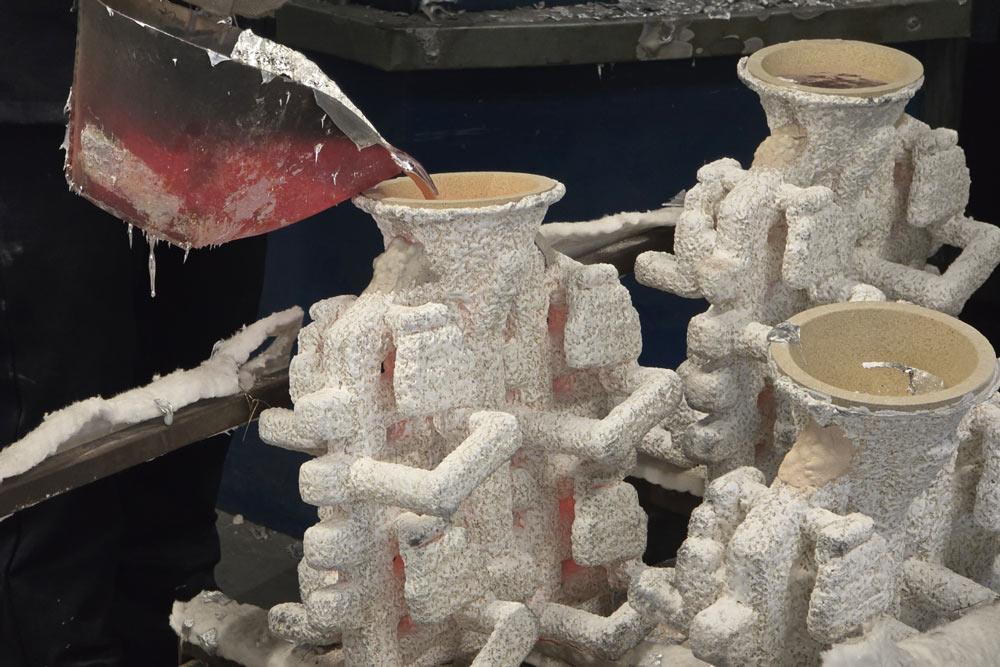
Pouring the molten Aluminium into the ceramic mould
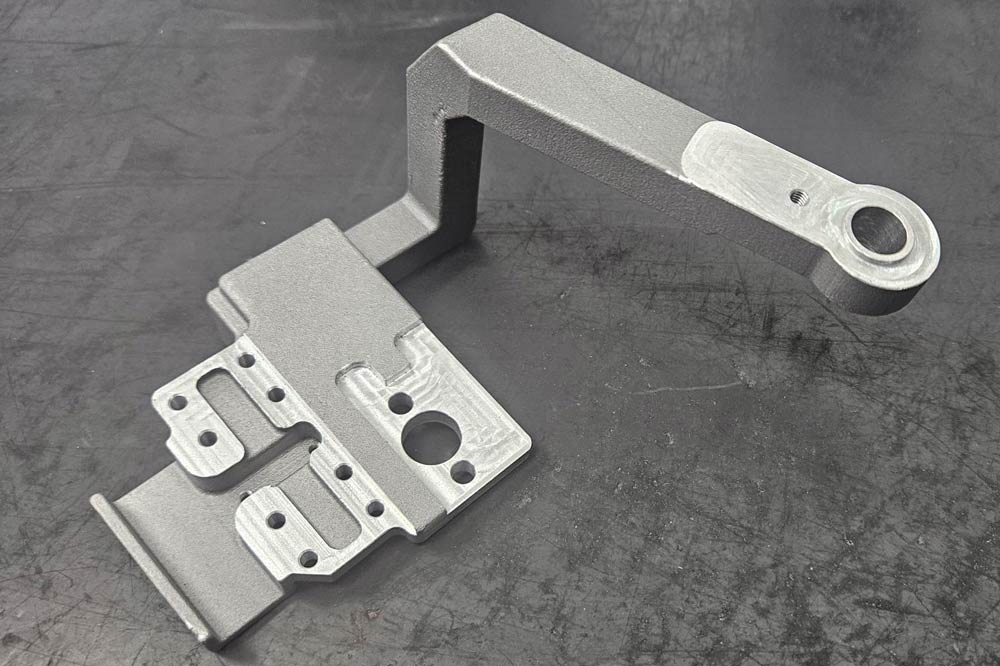
Machining of the part
If you would like to learn more about our other services, please visit our website www.lestercast.co.uk. Alternatively, if you would like to discuss your project with our engineers, please get in touch +44 (0)116 276 7284 to arrange an on-site meeting, with the offer of a complimentary tour of our facilities.
